

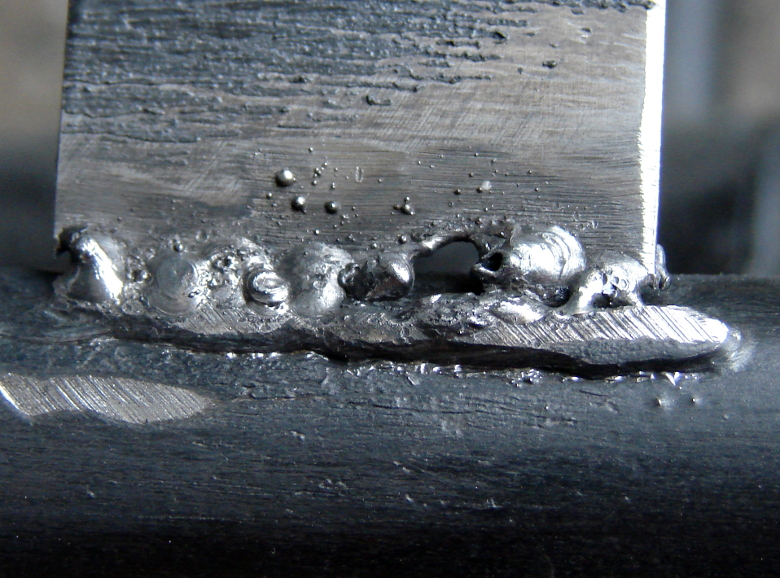
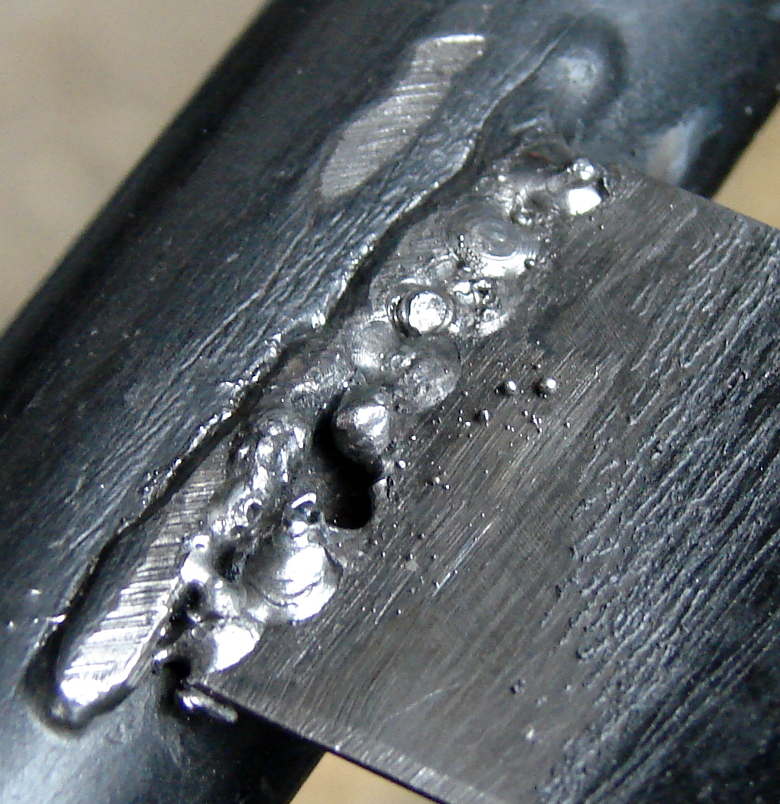
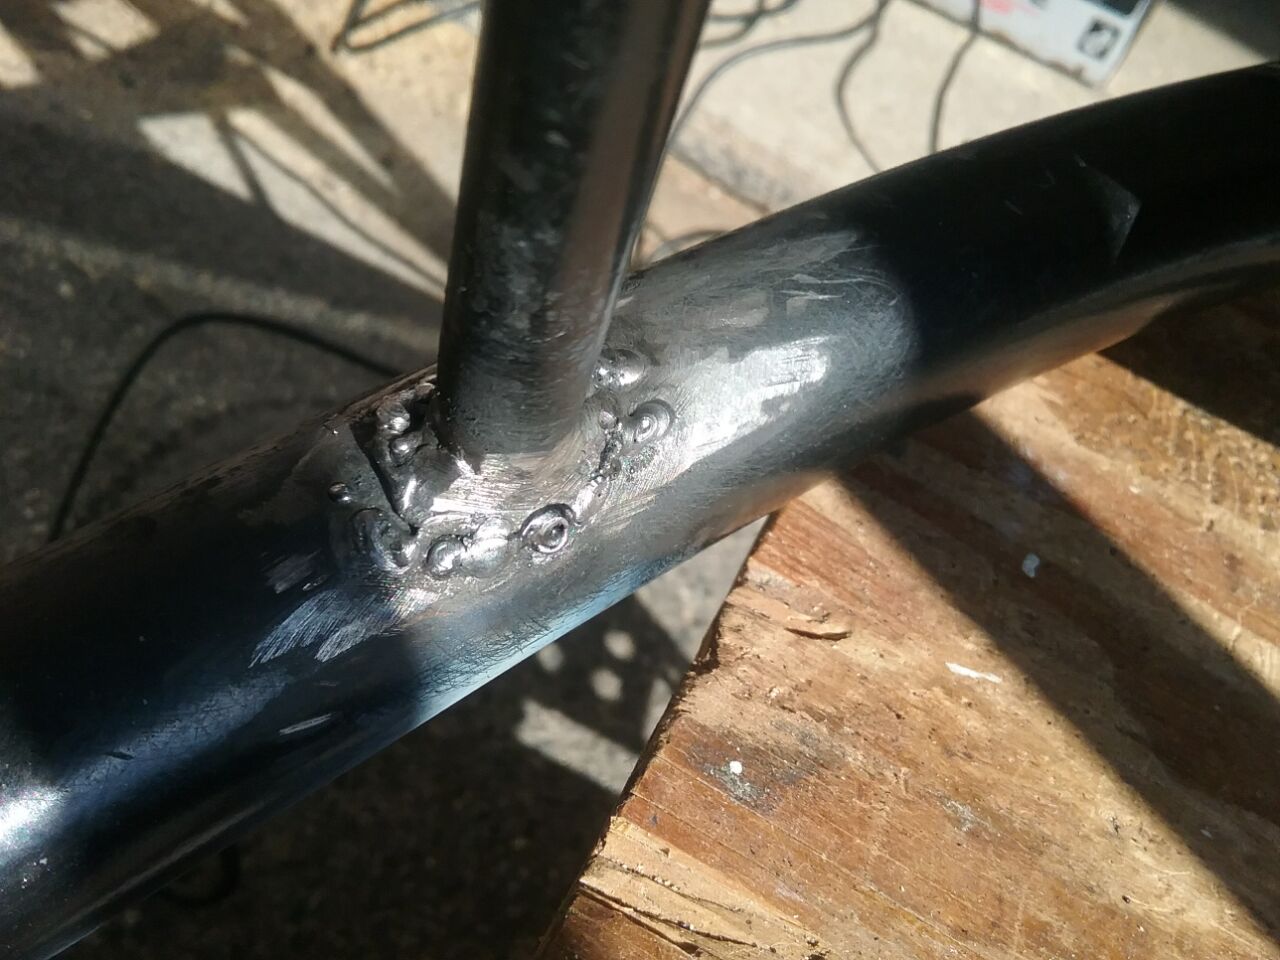
SMAW Stick welding repair of a metal chair. Thin slats of metal welding to tubular side rail. The slats are very thin. I blew through the metal, so had to use a washer to make up the difference. Photo 2 by Don Tai
Shielded metal arc welding (SMAW), also known as manual metal arc welding (MMA or MMAW), flux shielded arc welding or informally as stick welding, is a manual arc welding process that uses a consumable electrode covered with a flux to lay the weld.
source: Shielded Metal Arc Welding: Wikipedia
An arc is created across the gap when the energized circuit and the electrode tip touches the workpiece and is withdrawn, yet still with in close contact.
The arc produces a temperature of about 6500ºF at the tip. This heat melts both the base metal and the electrode, producing a pool of molten metal sometimes called a “crater.” The crater solidifies behind the electrode as it is moved along the joint. The result is a fusion bond.

SMAW Stick welding repair of a metal chair. Thin slats of metal welding to tubular side rail. The slats are very thin. I blew through the metal, so had to use a washer to make up the difference. Photo 1 by Don Tai

SMAW Stick welding repair of a metal chair. Thin slats of metal welding to tubular side rail. The slats are very thin. I blew through the metal, so had to use a washer to make up the difference. Photo 2 by Don Tai
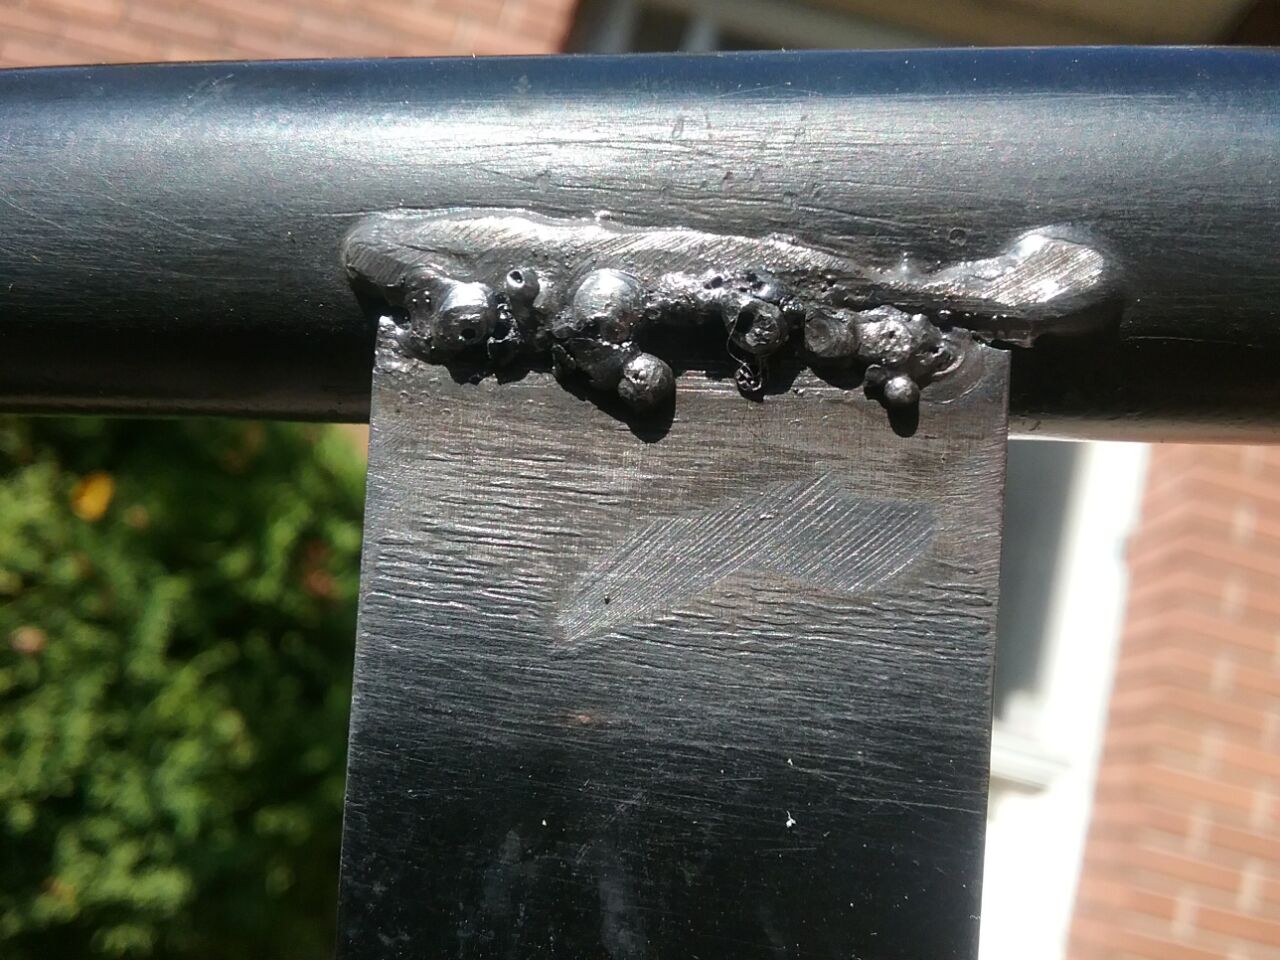
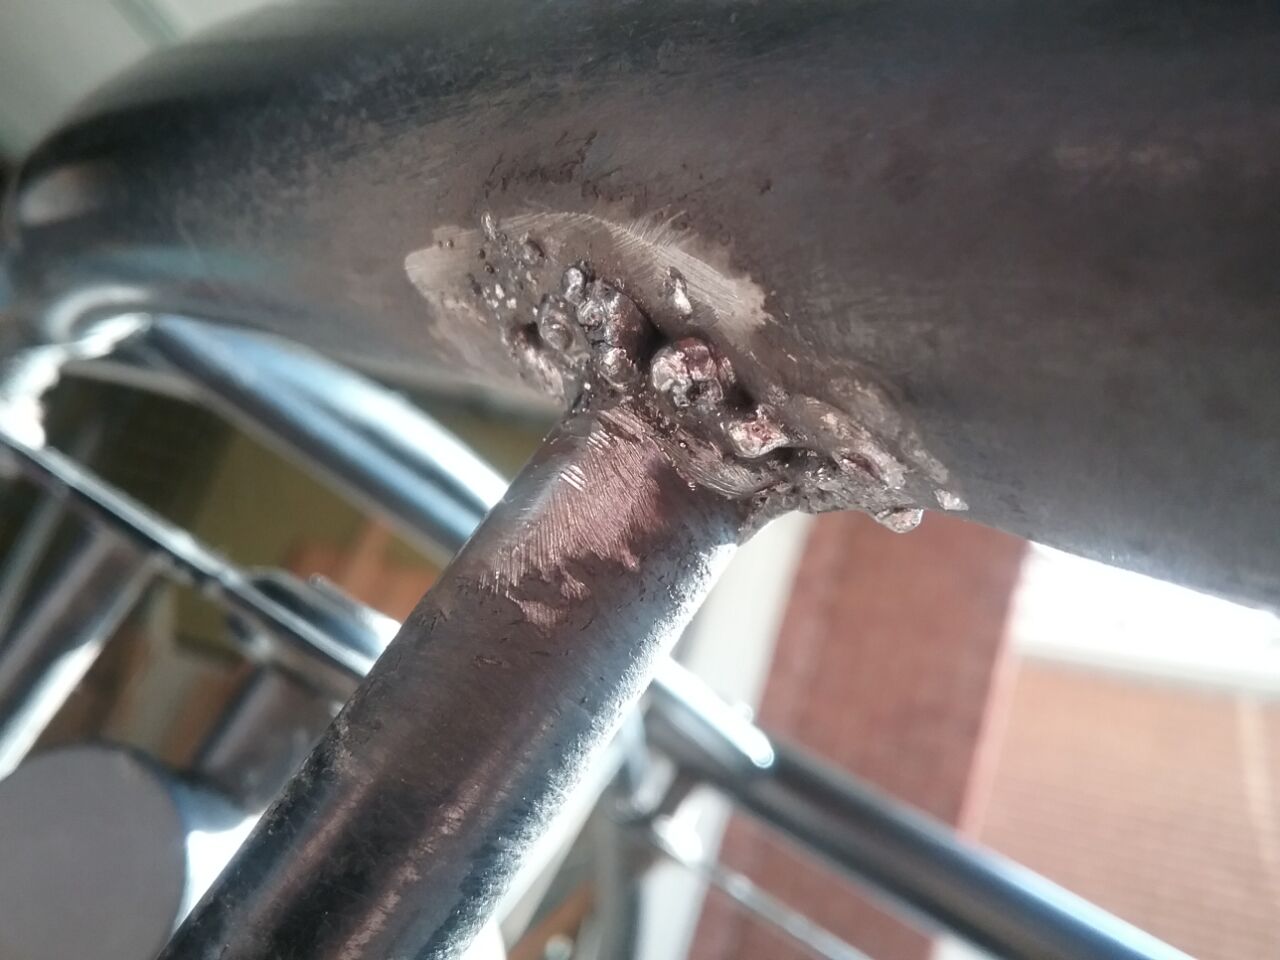
SMAW Stick welding repair of a metal chair. Thin slats of metal welding to tubular side rail. The slats are very thin. This is the second slat that broke. Again I blew through a portion of the slat. Photo 3 by Don Tai
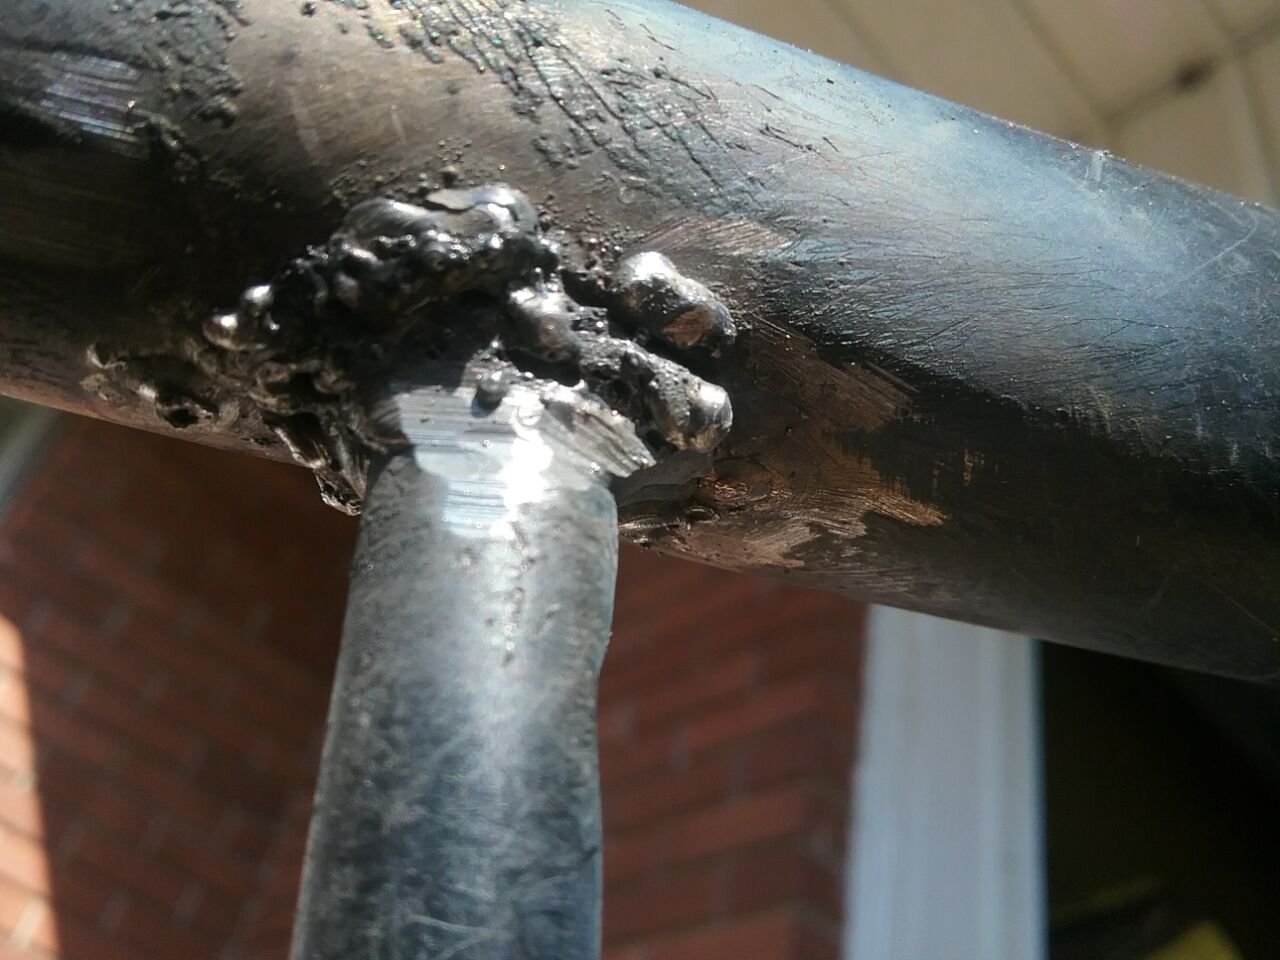
SMAW Stick welding repair of a metal chair. Thin slats of metal welding to tubular side rail. The slats are very thin. This is the second slat that broke. Again I blew through a portion of the slat. Photo 4 by Don Tai
2020 Oct 23: Little Weed still loves this metal recliner chair. The recliner hold mechanism broke and was irreparable, but no matter, he sits in it most of the time, and can still recline. We might still find a solution yet! Yet another metal slat broke, this time in the upper section. As well, a main stay that stabilizes the left and right sides broke completely off. He did not tell me this until I was ready to reweld the single slat. I again used E6013 1/16″ electrodes.
A couple of years ago I bought an auto darkening welding helmet, which has helped out immensely. Solar powered, I let it warm up a bit. When I strike an arc it auto darkens to a #11 shade. I can see enough of the rod and my work to position the electrode, strike the arc and then am shaded from the flash. At least I hope this is how it works. I still often flip the helmet to more clearly see the work, but I still love the helmet.
I think I am better at using shorter welding rods as the leverage is quite a bit less and therefore accuracy is higher. A new welding rod seems quite long. I’ve learned to use my left hand to perch the welding rod closer to the work, and this has made welding easier. Still, the metal has to be bare and spotless, or I have trouble. Even after a couple of false starts, the metal is covered with soot, I stop and clean the area with a wire brush. After the weld I follow up with the welding hammer to bash out the slag, followed by the wire brush. It is easier to weld if the surface is perfectly flat.
I should repaint the bare metal areas, which would cover my crappy welds, but then little weed would need to wait for the paint to dry, and he’s just not that patient. Chair back in service!
Little Weed’s metal recliner broke an upper slat, again. Before grinding smooth, rewelded 2020 Oct 23. Photo 5 by Don Tai
Little Weed’s metal recliner broke a strut that stabilizes the left and right sides. Had to reposition the chair multiple times to get a good view of the round strut. Rewelded 2020 Oct 23. Photo 6 by Don Tai
2020 Jan 23 A freak warm day and I bring out the welder to fix a broken strut on Little Weed’s metal chair. One side of a slat also broke, so I rewelded it. Thankfully for the strut there was a lot of metal left and the fit was quite good, which helped. It is a chair, and even worse a rocking chair, so the racking does stress the metal supporting struts.
Reweld a broken stud on a cheaply made Chinese chair, 2020 Jan. Photo by Don Tai
Reweld a broken stud on a cheaply made Chinese chair, 2020 Jan. Photo by Don Tai

Reweld a broken slat on a cheaply made Chinese chair, 2020 Jan. Photo by Don Tai
2021 Dec 11: One of the hinge points, a sheet metal bearing holder, simply ripped off its sheet metal support. It turns out that one of the cross beams was cut too long. Instead of cutting it shorter, they ratcheted down the properly sized bearing, putting excess pressure on the pressed sheet metal bearing holder. Over time the sheet metal bearing holder sheared off, and here we are! The other sheet metal bearings were simply two pieces of sheet metal sandwiched together, so I tacked the two sides of them together for the rest of the three intact bearings.
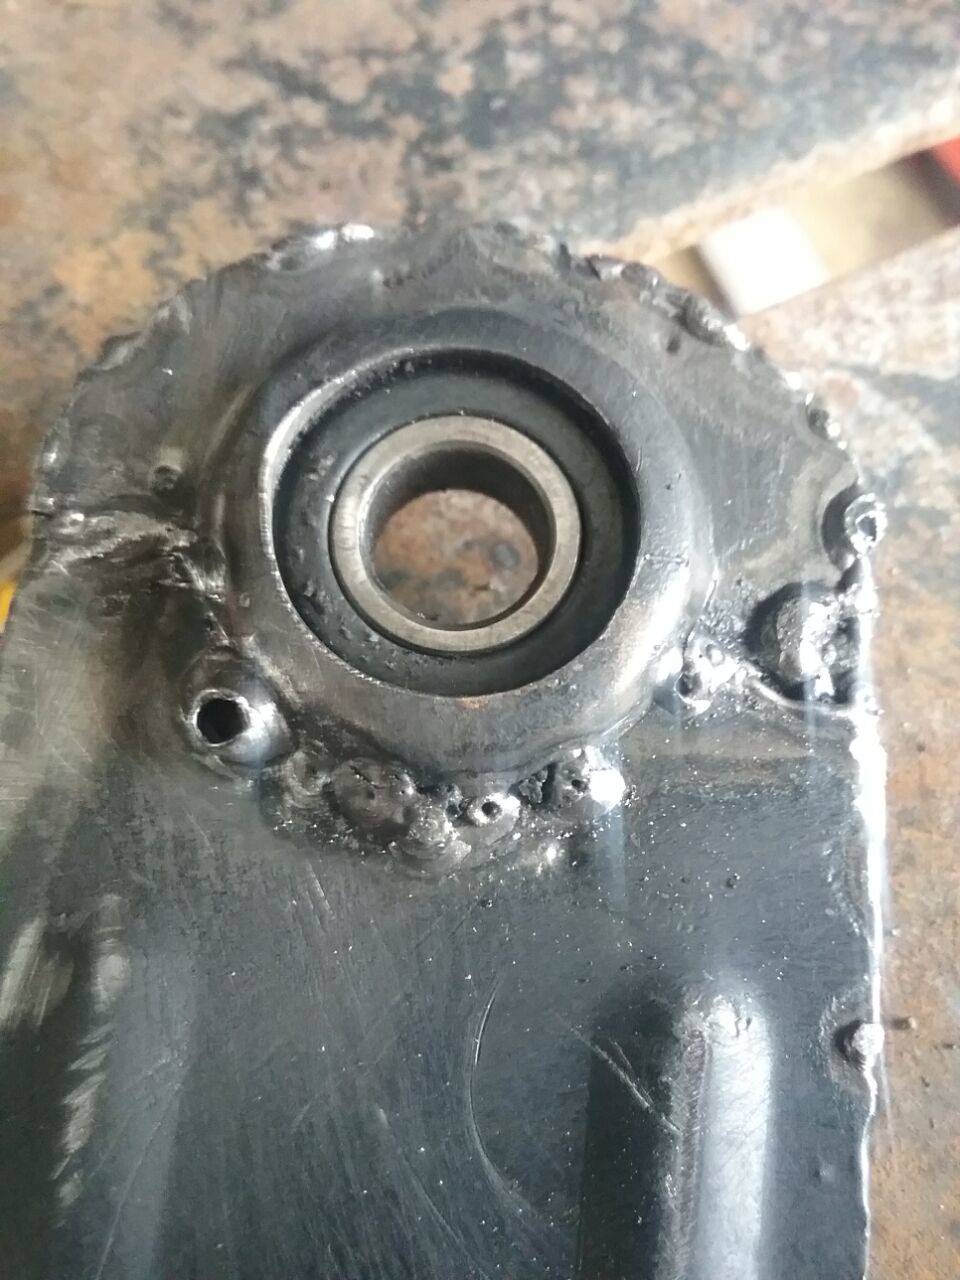
Chinese rocking chair, sheet metal bearing holder breaks, so I welded it up, 2021 Dec 11,. photo my Don Tai
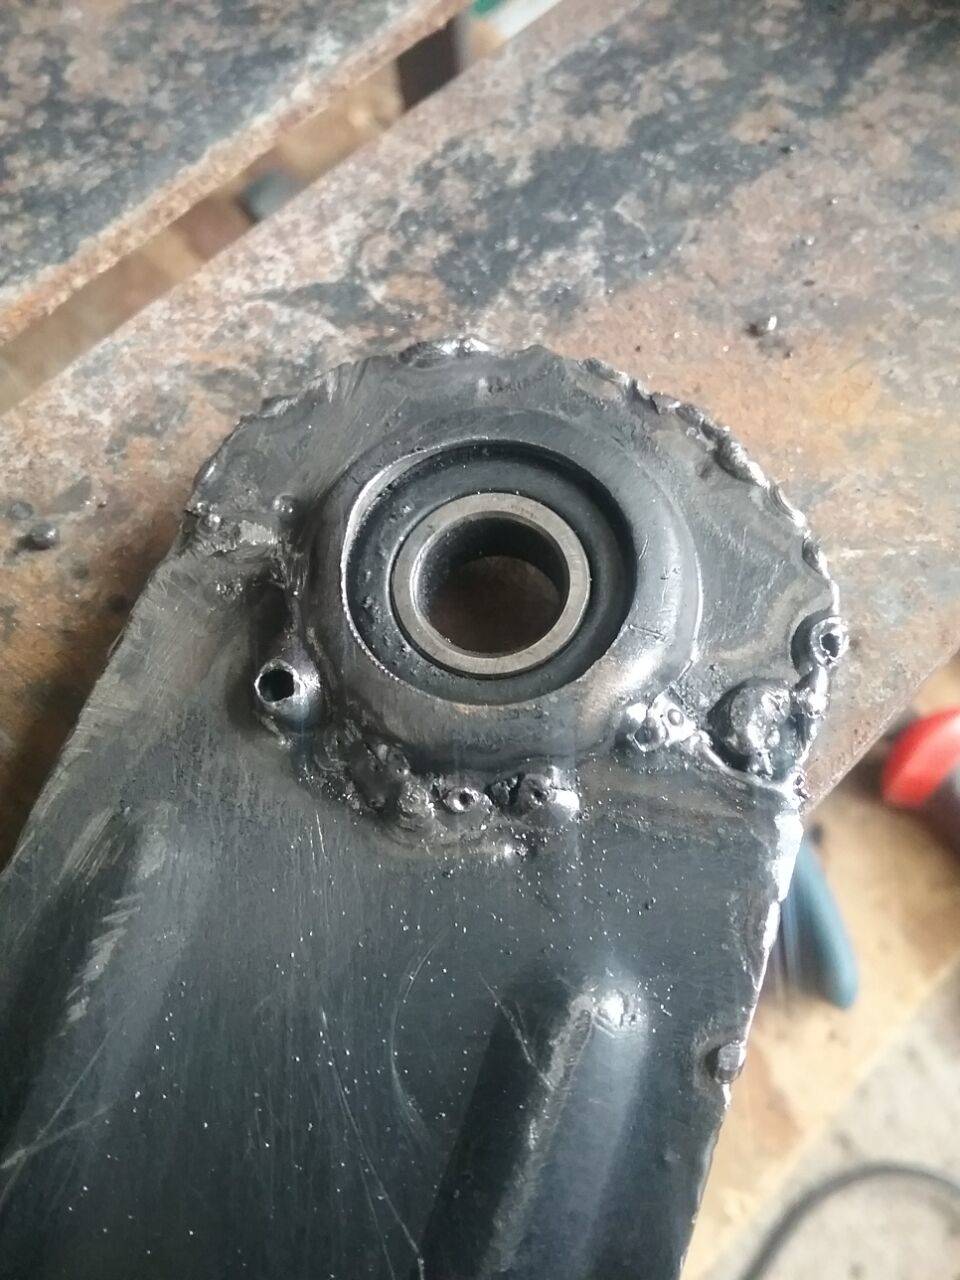
Chinese rocking chair, sheet metal bearing holder breaks, so I welded it up, 2021 Dec 11,. photo my Don Tai
100: 6013 3/32 ok, 5/32 not hot enough, causing slag inclusion
70: 6013 1/16=2/32
100: tried 6011 3/32, could not strike an arc, seemed underpowered. Switched to 6013 5/64 and was immediately able to strike an arc and weld. Maybe my welder is biased to 6013?
100: Tried 3/32 6013. It seems to be harder to start, but burns much hotter. Slag breaks off much cleaner and there seems to be less slag inclusion. I find it more difficult to maintain a constant arc, but this may take practice. A little further away and the arc is brighter and more consistent
70: Tried 5/64 6013 at 70. Striking the arc is harder ,but I get a more consistent weld. Welding 1/8″ metal does not blow through as easily, but I need more practice. Maybe I should just keep to the amp recommendations on the welder sticker.
100: 6013 5/64 is so much easier, easy to strike an arc, goes very well, nice weld
There are some important nuances and factors: base metal thickness, welder amperage and rod type.
-weld rod thickness exceeds base metal: too hot, too much heat into the base metal, blow through, base metal warping
Let’s say that you want to weld a square butt joint in the flat position, and the base metal is 1/8″ (3.2mm) thick. You can leave a root gap that is half the metal’s thickness 1/16″ (1.6mm) but no more than that. Then you use a 3/32″ (2.4mm) rod to weld.
If you want to weld a 1/4″ (6.4mm) thick metal, you make 30-degree bevels. Then leave a 3/32″ long root face (or land) and a 1/16″ long root gap. This is a single V butt joint.
You weld the root with a 3/32″ rod. After that, you can fill the rest of the joint with 1/8″ (3.2mm) or 5/32″ (4mm) rods. source
70, 2023 Jun 17: 5/64 6013 went very well today. My stinger was too lose with the 5/64 rod and therefore had bad contact. I stuck a thin nail into the stinger to tighten it up, and 5/64 at 70 amps struck an arc much easier. I can weld thin metal with 5/64 with much less heat and possibility of blowing holes through the metal. The instructional amp recommendations on the welder are spot on.
Prevention and Control of Distortion in Arc Welding: From Lincoln and Disney, really good explanation of welding shrinkage
FUNDAMENTALS OF MANUAL SHIELDED ARC WELDING Pt. 1 FLAT & HORIZONTAL POSITIONS 47244aBy Airco for General Electric, Joe Magee series, Part 2 VERTICAL & OVERHEAD POSITIONS 47244b, with discussion of DC arc blow
1951 WESTINGHOUSE SALES FILM ADVANTAGES OF AC WELDING 47444: 1951 film on the benefits of AC welding, not too applicable today but interesting
Preventing Distortion 1: preventing welding distortion
How To Quickly Cut Pipe For 90 Degree Joints | How To Cut Pipe At 45 Degrees: Fab2ku
2023 Jul 11: 6011 3/32 100 amps, I created a box so I can bend metal on. The wall is 3/8″, the thickest I’ve ever welded. The welder did very well at 100 amps, which was used to put sufficient heat into the metal. 6011 is quite different from 6013 in that it is a little harder to strike an arc and the weld rod burns down much faster, so I had to keep pushing the rod into the piece more. Otherwise the arc will go out but is easy to restart. This took a bit to get used to. The welds, though deeper, don’t come out as nice looking as 6013. I don’t know how to improve this, but will try more grinding.
Supposedly using 6011 instead of 6013 will give me deeper penetration. It seems to work. 6011 starts at 3/32″ rod, so it is not applicable to sheet metal and thinner stuff.
My previous experiment with 7018 AC at 100 amps was a complete failure. I could not even strike an arc. So much for the AC.
2023 Jul 20: 6013 1/16 45 amps, good grounds by filing off the paint, did good tack welds, sufficient penetration through thin metal. Lower amperage, less heat but sufficient for striking an arc and getting sufficient penetration while not blowing through the metal.