
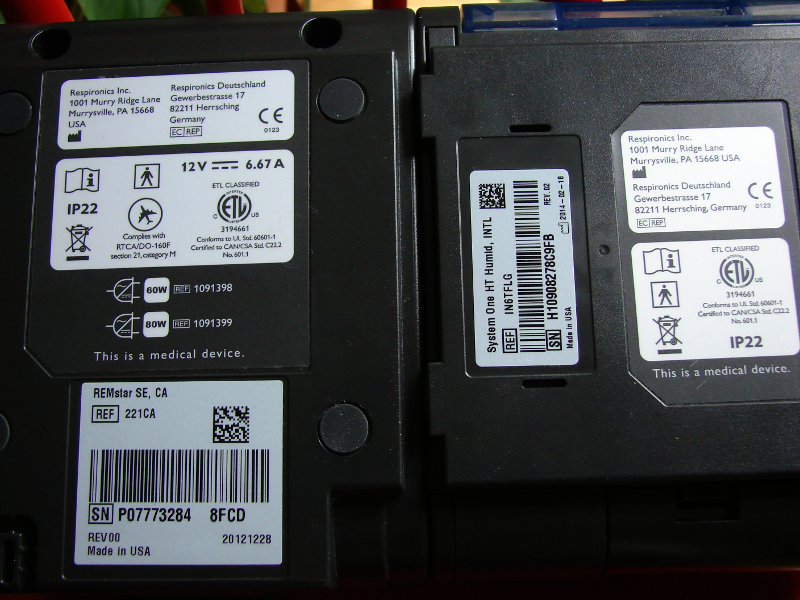
Philips System One HT Humid CPAP machine. Photo 11 by Don Tai
I enjoy taking apart machines, especially well engineered and built machines. How do you know if a piece of engineering is well built? You take it apart and see for yourself. This is a friend’s Philips System One Continuous positive airway pressure (CPAP) machine that, after 6 years of daily use, was replaced by a better model. Here’s how to take it apart.
Overall the machine is made of thick ABS. The air intake has both a foam and paper filter. Surrounding the motor is a silicone liner that was very clean, even after 6 years. There are air gaskets that seal in the air.
You will need both a torx T9 and T20 bits. Split the motor from the water reservoir using the latch on the right side of the reservoir. There is nothing to clean in the reservoir. On the back of the motor you will see 2 torx T9 screws, which you will remove. They will be very long.
Philips System One HT Humid CPAP machine, label. After you split the motor from the water reservoir, remove the top two torx T9 screws. They are long. Photo 1 by Don Tai
The bottom side of the cover will come up. The top, with the memory card slot, has two tabs. Do not break them. The memory card cover and the rubber knobs will come loose. The rubber knobs have a slim tab, which should point towards the top, with the “on” button to the right side. Beside the air outlet remove the torx T20 screw. It is short.

Philips System One HT Humid CPAP machine. Top cover removed. Torx T20 screw near air outlet removed. Also removed are the memory card cover and the rubber controls. Photo 2 by Don Tai
Remove the large plug, silver wire to the left. The smaller 2 wire plug only goes in one way, remove this. Pop the IC board off the two transparent posts. Flip the board over and remove the 4 wire connector. There is only one way this goes in.

Philips System One HT Humid CPAP machine. Top cover removed. Torx T20 screw near air outlet removed. The rear of the IC board. Note the connector. Photo 3 by Don Tai

Philips System One HT Humid CPAP machine. Top of IC board. Photo 4 by Don Tai

Philips System One HT Humid CPAP machine. Rear of IC board. Photo 5 by Don Tai
There are 6 torx T9 screws to remove the top of the transparent air housing. Remove the transparent top air housing cover.

Philips System One HT Humid CPAP machine. Transparent air housing cover. Note the 6 torx T9 screws. Photo 6 by Don Tai

Philips System One HT Humid CPAP machine. Transparent air housing cover. Note the 6 torx T9 screws. Photo 7 by Don Tai
Note the motor’s 3 legged suspension system. This is pretty cool. This reduces motor noise, resulting in quieter operation. There is a silicone accordion connector for the air outlet. Note the gasket all around.

Philips System One HT Humid CPAP machine. Transparent air housing cover removed. Note the 3 legged suspension system for the motor, and the gasket all around. Photo 8 by Don Tai
This area where air from the motor is blown to the air outlet was extremely clean, even after 6 years of continuous use.

Philips System One HT Humid CPAP machine. Transparent air housing cover removed. Note the 3 legged suspension system for the motor, and the gasket all around. Photo 9 by Don Tai

Philips System One HT Humid CPAP machine. Transparent air housing cover removed. Note the 3 legged suspension system for the motor, and the gasket all around. Photo 10 by Don Tai

Philips System One HT Humid CPAP machine. Photo 11 by Don Tai
This machine is very easy to service and designed for long life. The motor seems replaceable. There are no tricks to disassembly.
